


Check this DTF Printer Guide Near You
Too many instruction manuals torturing your mind?
Follow this ultimate guide and check which important part you’ve neglected the whole time!
PASSAGE SUMMARY
1. Instruction for pre-print preparation
( get to know more by clicking underlined texts )
Nozzle checking is an essential first step before our everyday printing tasks. By checking the test chart given by the nozzle checking, we get to know whether the nozzles and inks are working perfectly or not.
Normally the test chart includes all the ink colors of the printer and might report below results:
- clear and complete lines : nozzles in good condition
- incomplete lines with gaps : nozzles are clogged, print head cleaning needed

1.2 Print head cleaning
Incomplete lines on test chart means the nozzles might be clogged and further print head cleaning is needed.
Print head cleaning is a maintenance activity performed on printer. During the cleaning process, the printer will automatically detect and try its best to remove any accumulated dried ink, dust or other ink residues, thus lower the possibility of nozzle clogging.
It’s important to note that depending on the severity of the clogging, multiple cleaning cycles may be required to fully unclog the print head. An extra nozzle checking and test chart are needed after every print head cleaning, so that we can better follow the actual clogging situation.
( get to know more by clicking underlined texts )
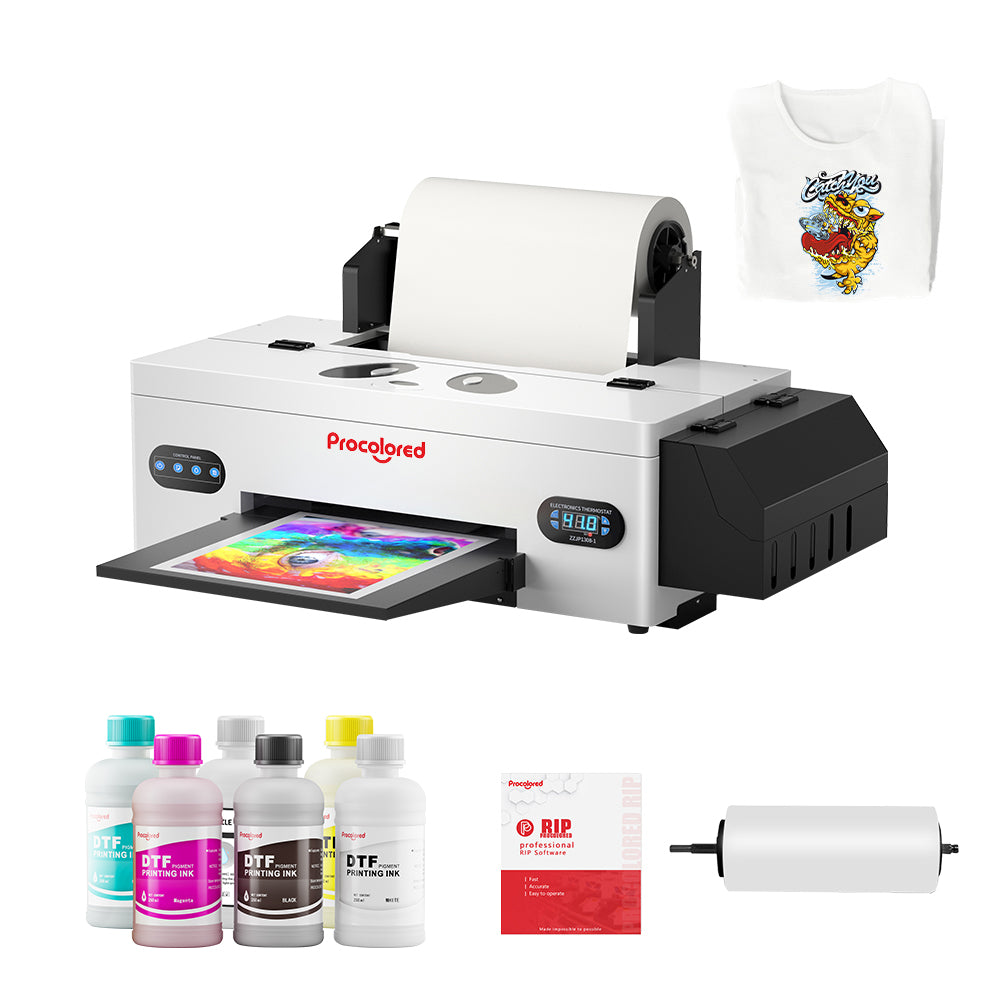
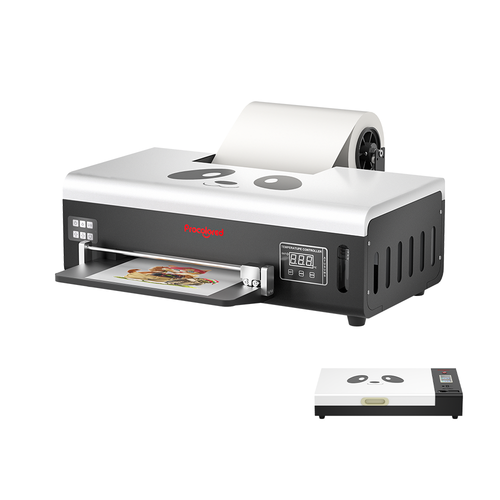
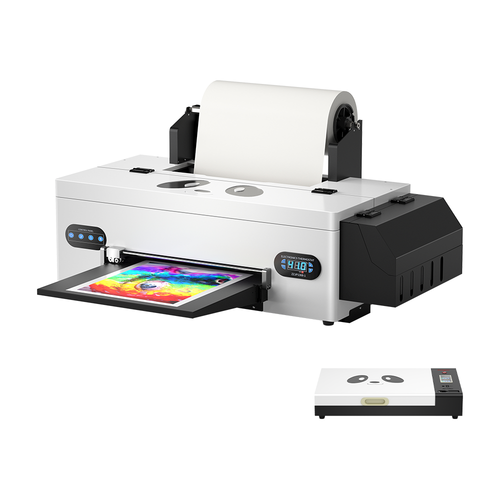
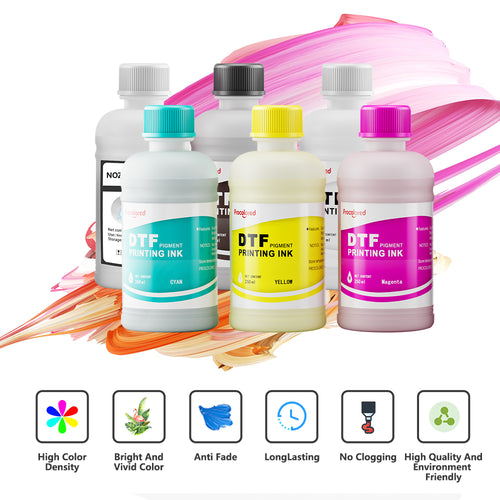
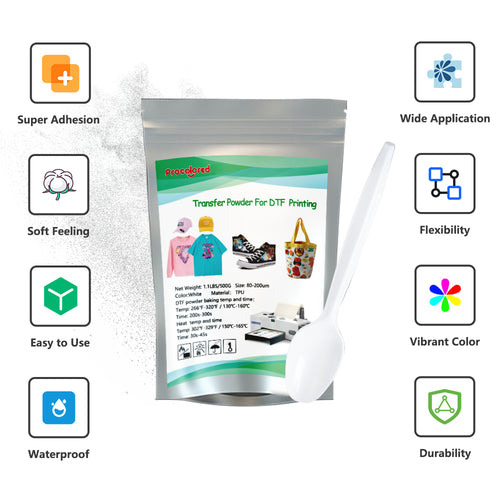
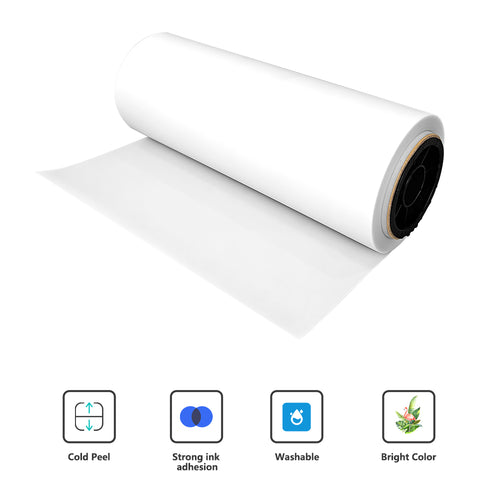
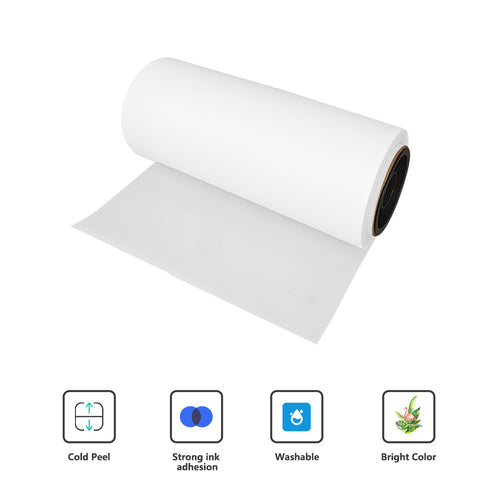
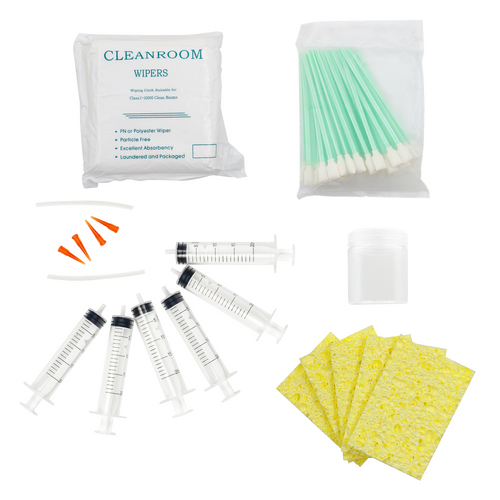
Consumables needed: DTF films, DTF inks, adhesive powder
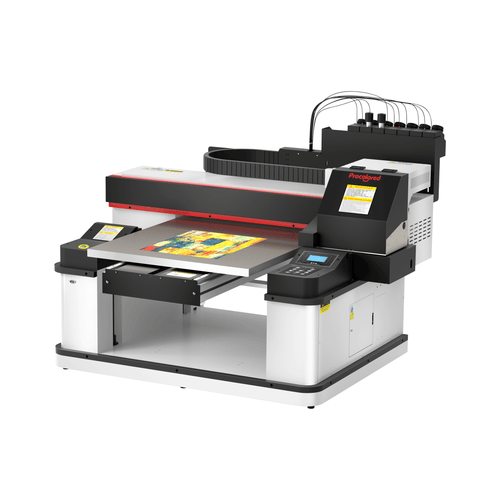
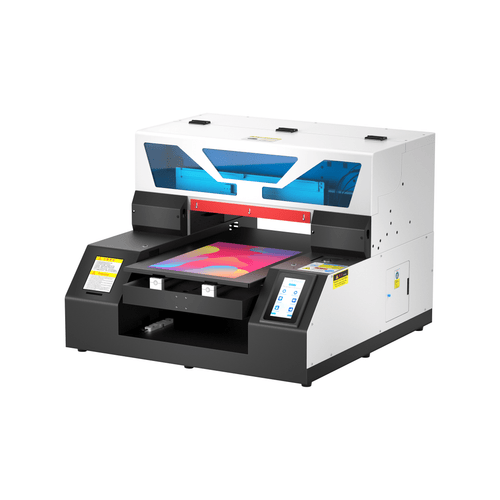
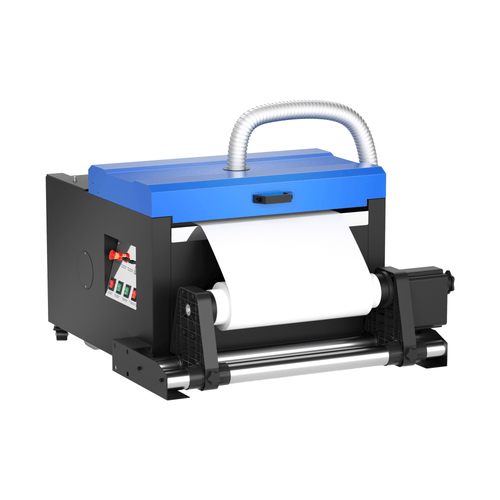
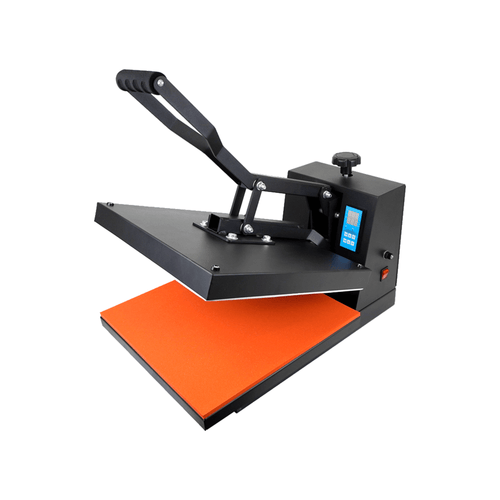
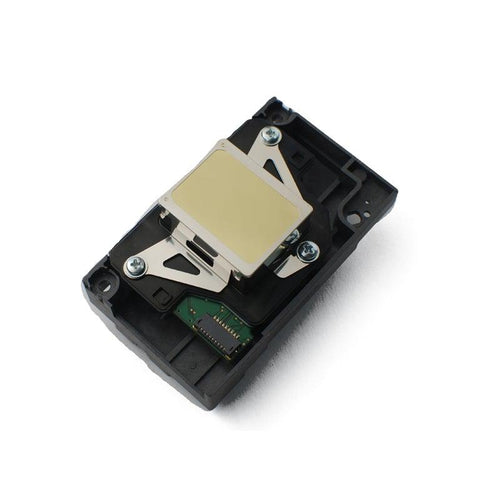
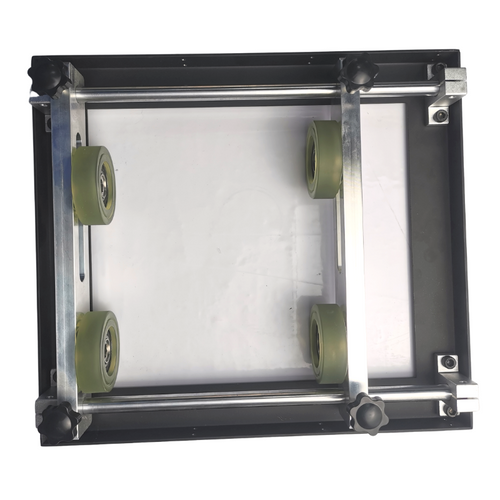
Machines needed: DTF printer, curing/drying oven, heat press machine
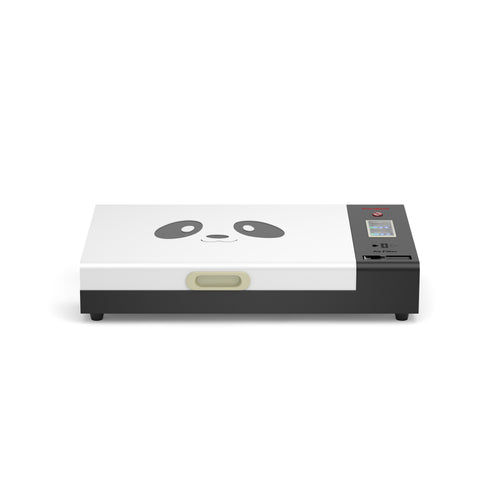
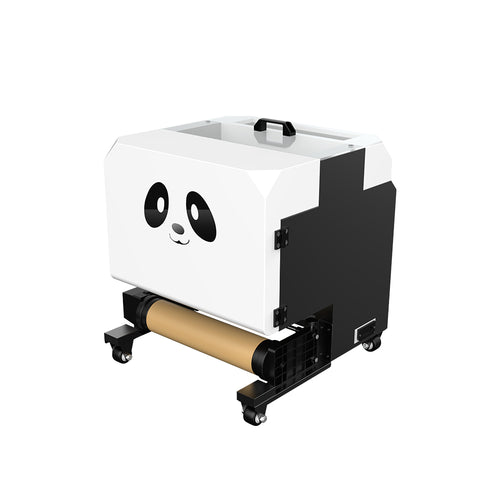
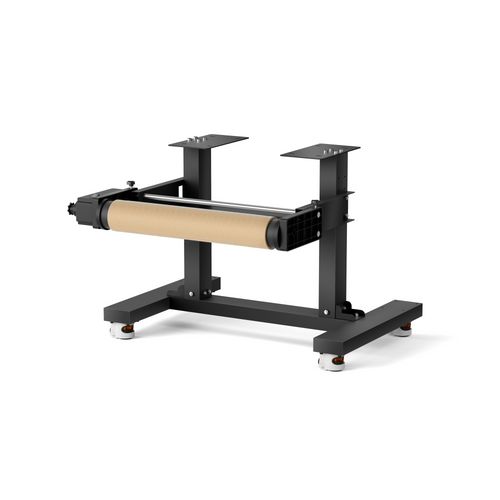
Optional machine: powder shaking and drying two-in-one machine
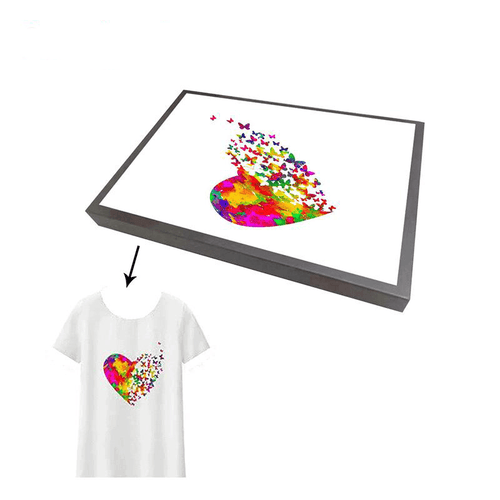
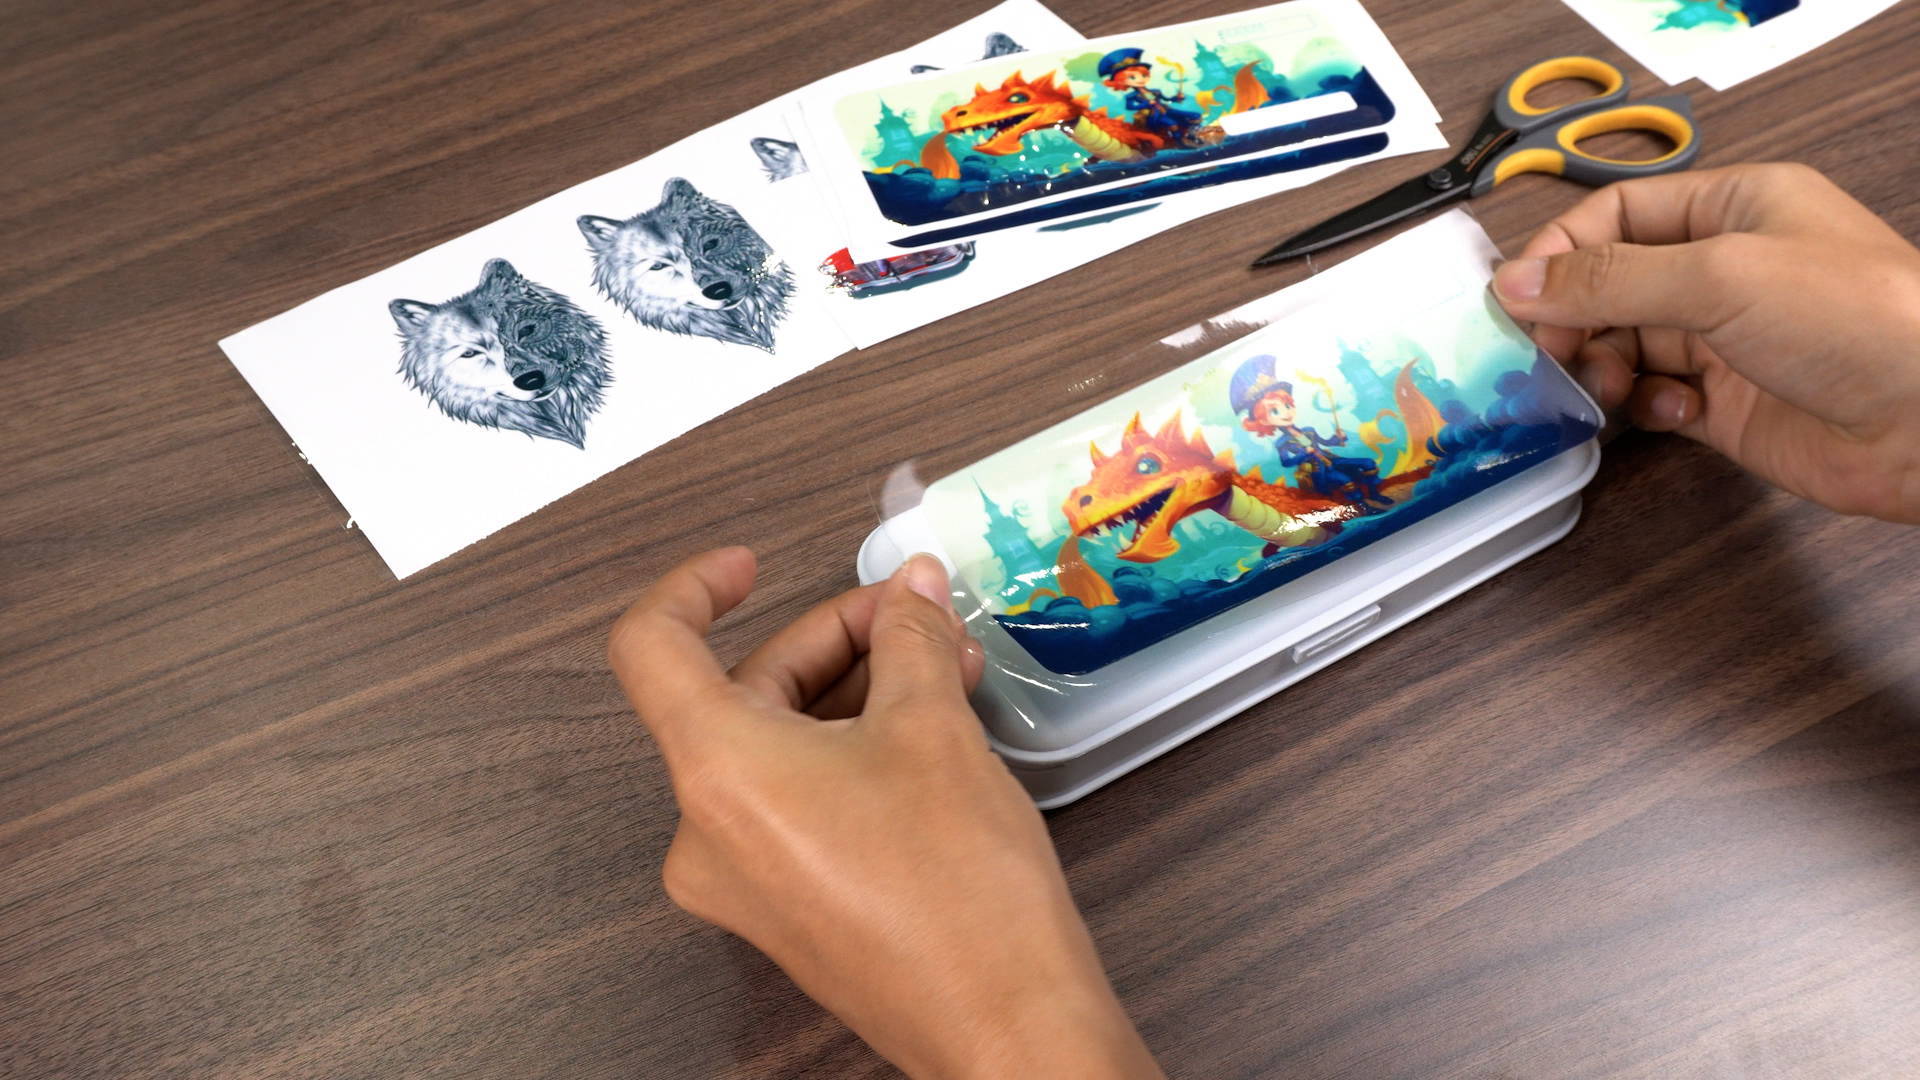
Workflow: printing-spreading powder-curing/drying-heat pressing-peeling off
(if the print doesn't stand firmly on fabric, we recommend to do a second heat pressing)

2.1 printing - optional ink/film types and effect showcases
Printing session is about transcribing the image into a specific file that can communicate with the printer. Before starting this session, do remember to resize your picture to suit different printable sizes of different DTF printers.
Normally Procolored DTF only provides DTF inks and ordinary films by default, yet users can still combine DTF printer with other consumables to achieve different printing effects, detailed as below.
Different from ordinary DTF printings, breathable DTF print is a kind of ultra-thin print that can only be achieved while printing in special software curve value and working with breathable white ink and fine powder. Compared to ordinary DTF print, breathable one presents below features:
- lighter color and less saturated
- easier to get cracked to achieve vintage or timeworn style
- much more breathable, especially suitable for summer T-shirts
- glitter
- chameleon
- luminous
- gilt veil
As its name indicates, there are lots of sparkling glitter particles set within this kind of film. Applying this film will make your printings more eye-catching and outstanding.

This kind of film will reflect bluish and purplish sheen under the light and that’s why it gets this name. Printed on this film, the printing would be more striking with pearlescent effect.

luminous/fluorescent transfer roll film
On the printable side of this film, there is a layer of fluorescent coating in light green. After being printed on clothes, the coating will be activated by UV rays from UV lights or sunshine on days, absorbing the light and achieve the luminous effect at nights.

This kind of film covers a thin layer of golden powder which makes the finished printings shining. Unlike glitter film, of which the shining color varies from the base printing color, printings applied on gilt veil film are always shining in a golden-hued tone.

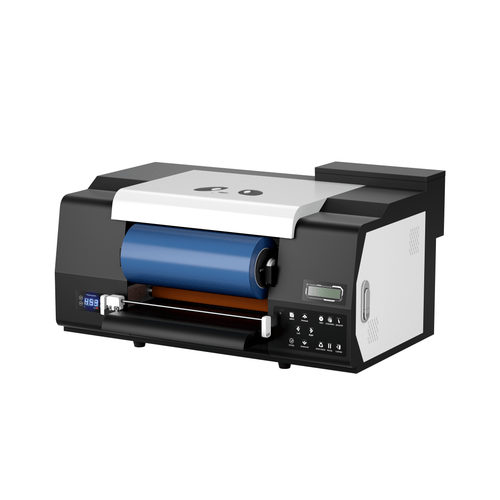
2.2 spreading powder - optional powder types/ machine

2.5 peeling off
3. Instruction for after-print care
( get to know more by clicking underlined texts )
3.2 clothes washing method
To better protect DTF print and help it last longer, we highly recommend laundering method as below: wash inside out, low water temperature, tumble dry in low temperature
HELLO, SEASONED DTF USER.
CONGRATULATIONS ON COMPLETING THE DTF LESSON!
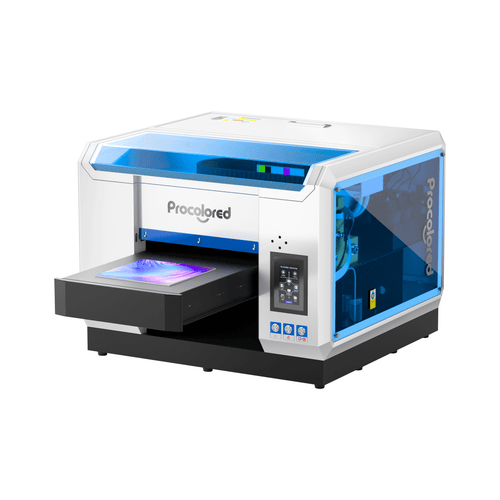
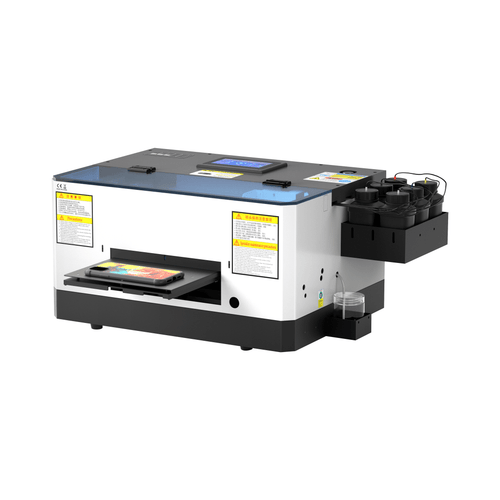
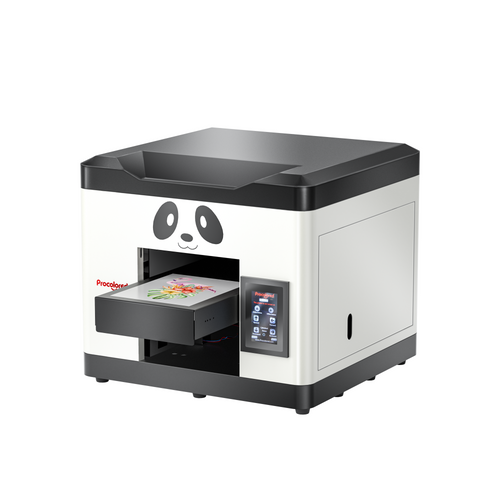
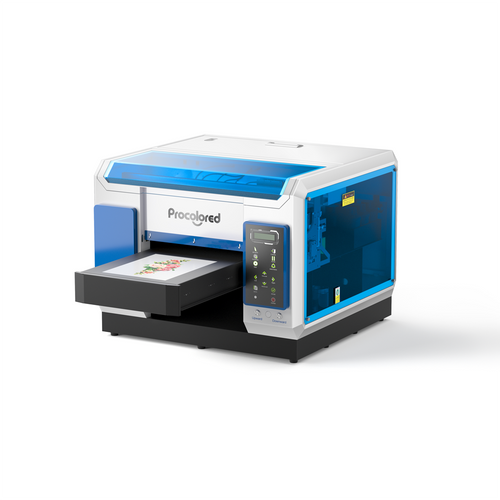
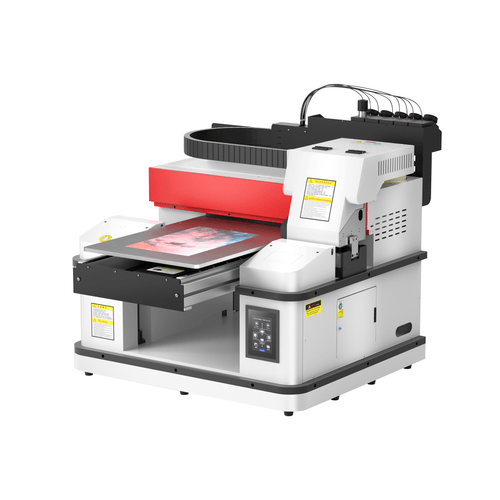
TIME TO GET YOUR OWN DTF PRINTER!
Subscribe
To join our mailing list
and never miss our updates!

Subscribe
To join our mailing list
and never miss a baby update!
Subscribe
To join our mailing list
and never miss our updates!