


How to Select a Printer in Photoshop CC?


Title

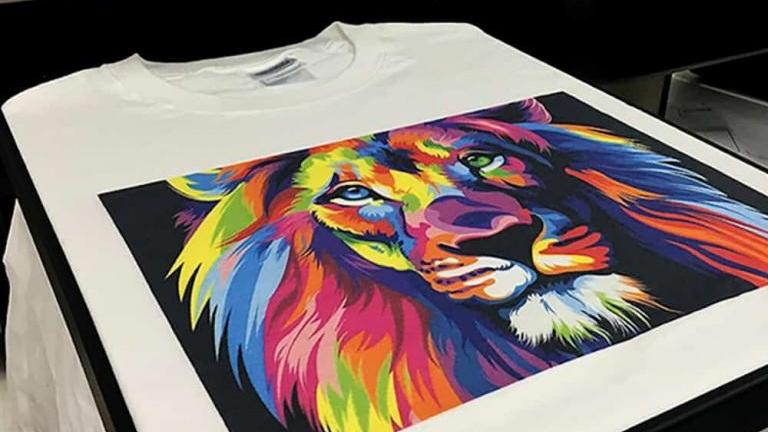
1.Resolution
DTF printing needs all the details hence the need for 300 DPI (dots per inch) is ideal for best results . At 300? Everything is crisp—lines, edges, the whole quality. Skimp on this, and you’ll see it all pixelated.
But mind it the final sharpness also depends on your RIP software and printer resolution settings (e.g. 1440×1440).
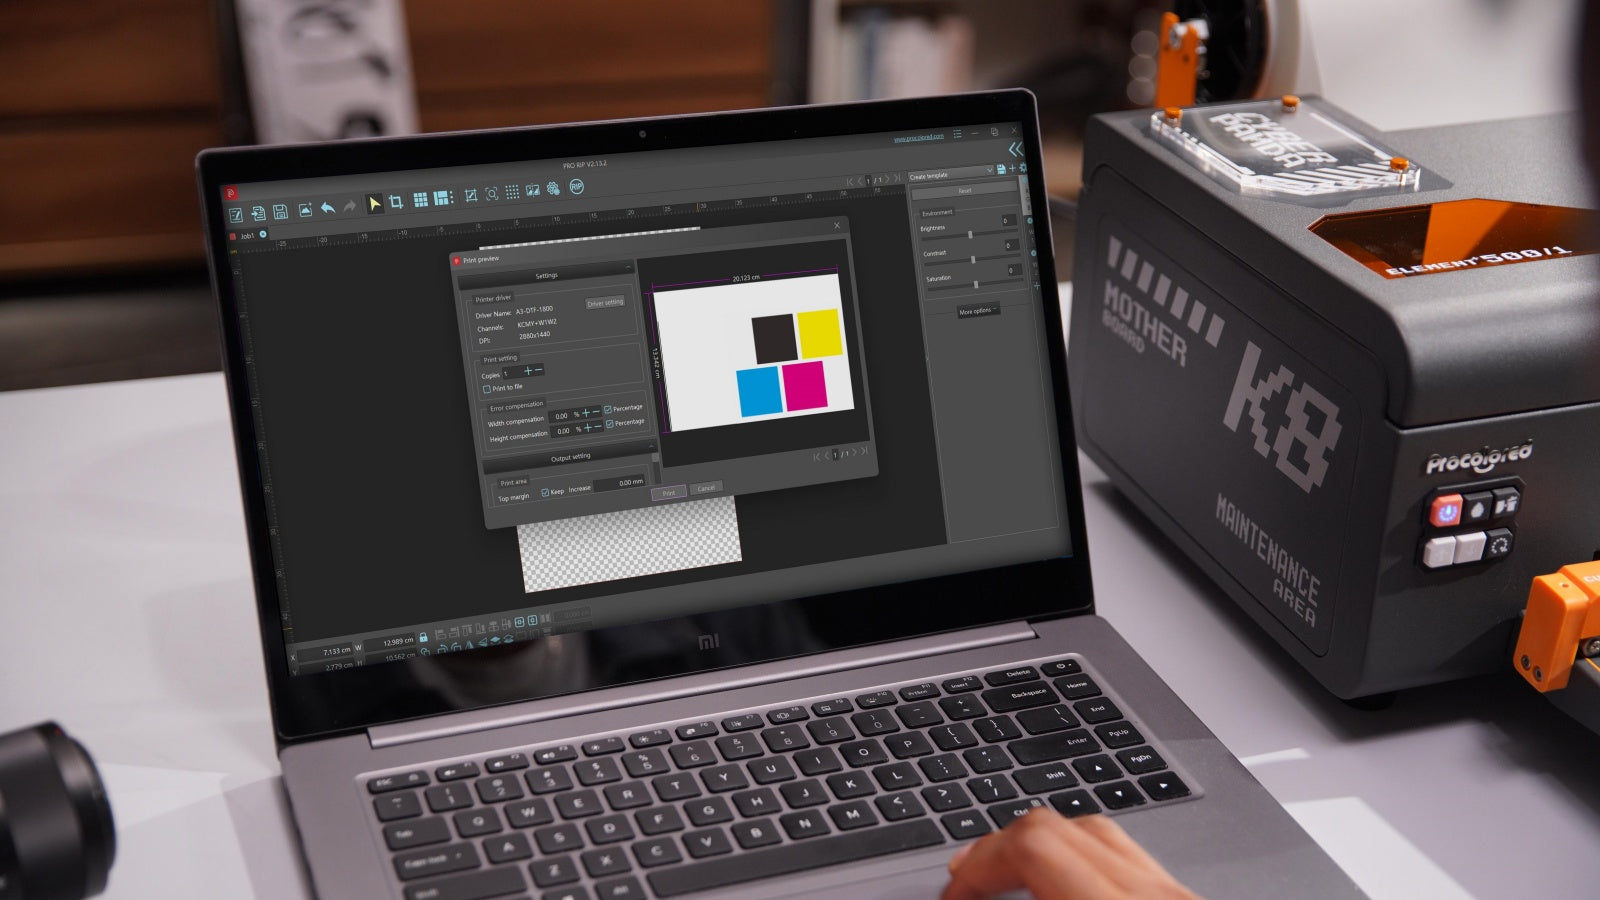
2.Color Space
3.ICC Color Profiles