Greg
July 1,2026

Title

How to Sell Custom Products at Craft Fairs and Build a Booth Business

At first glance, a craft fair booth looks straightforward — just a table, a tent, and a few products on display. But the sellers who actually make money treat that table as a front door, where the products on it are what turns a passerby into a paying customer, in person and on the spot. 


With one primary print path, you can build a custom product line you control end to end — designing it, printing it, and selling it yourself, while also taking custom orders on the spot in a way that suppliers of pre-made transfers simply can’t. 


A single printer, run well, is enough to turn a weekend table into a repeatable booth business — a way to sell custom products at local markets month after month.

What a booth business actually is

A booth is more than a place to sell what you already made. It puts you in front of a stream of local shoppers, and the strongest sellers work both sides of that opportunity — the impulse sale that happens today and the larger custom order that grows out of a face-to-face conversation.

At a craft fair, that dynamic turns one table into a repeatable loop: 

the event itself drives the impulse sales, while the custom orders you take at the table are where the larger tickets come from — a name across a team set, a date on a batch of tumblers, a logo on a run of tote bags.

Pick your booth model first

Your custom production approach follows from the model you pick. There are three to choose from, and most strong booths end up blending two of them.

Finished goods, sold on the spot.

You pre-make everything and sell ready-to-sell custom products straight off the table. This is the lowest-risk option and works well for beginners, especially for designs with broad appeal.

Samples on display, orders taken.

You display samples and let customers order their size, name, logo, or date; you then make the items after the event and deliver them later. This approach works best for anything personalized.

Simple on-site customization.

You add a name, number, date, or small sticker right at the booth. It’s a good fit when the request is quick, but keep the on-site step genuinely simple — any more than that and your line will back up and cost you sales.

Choose your model based on your risk tolerance and product mix, then build everything else around that choice.

Match your booth model to a print path
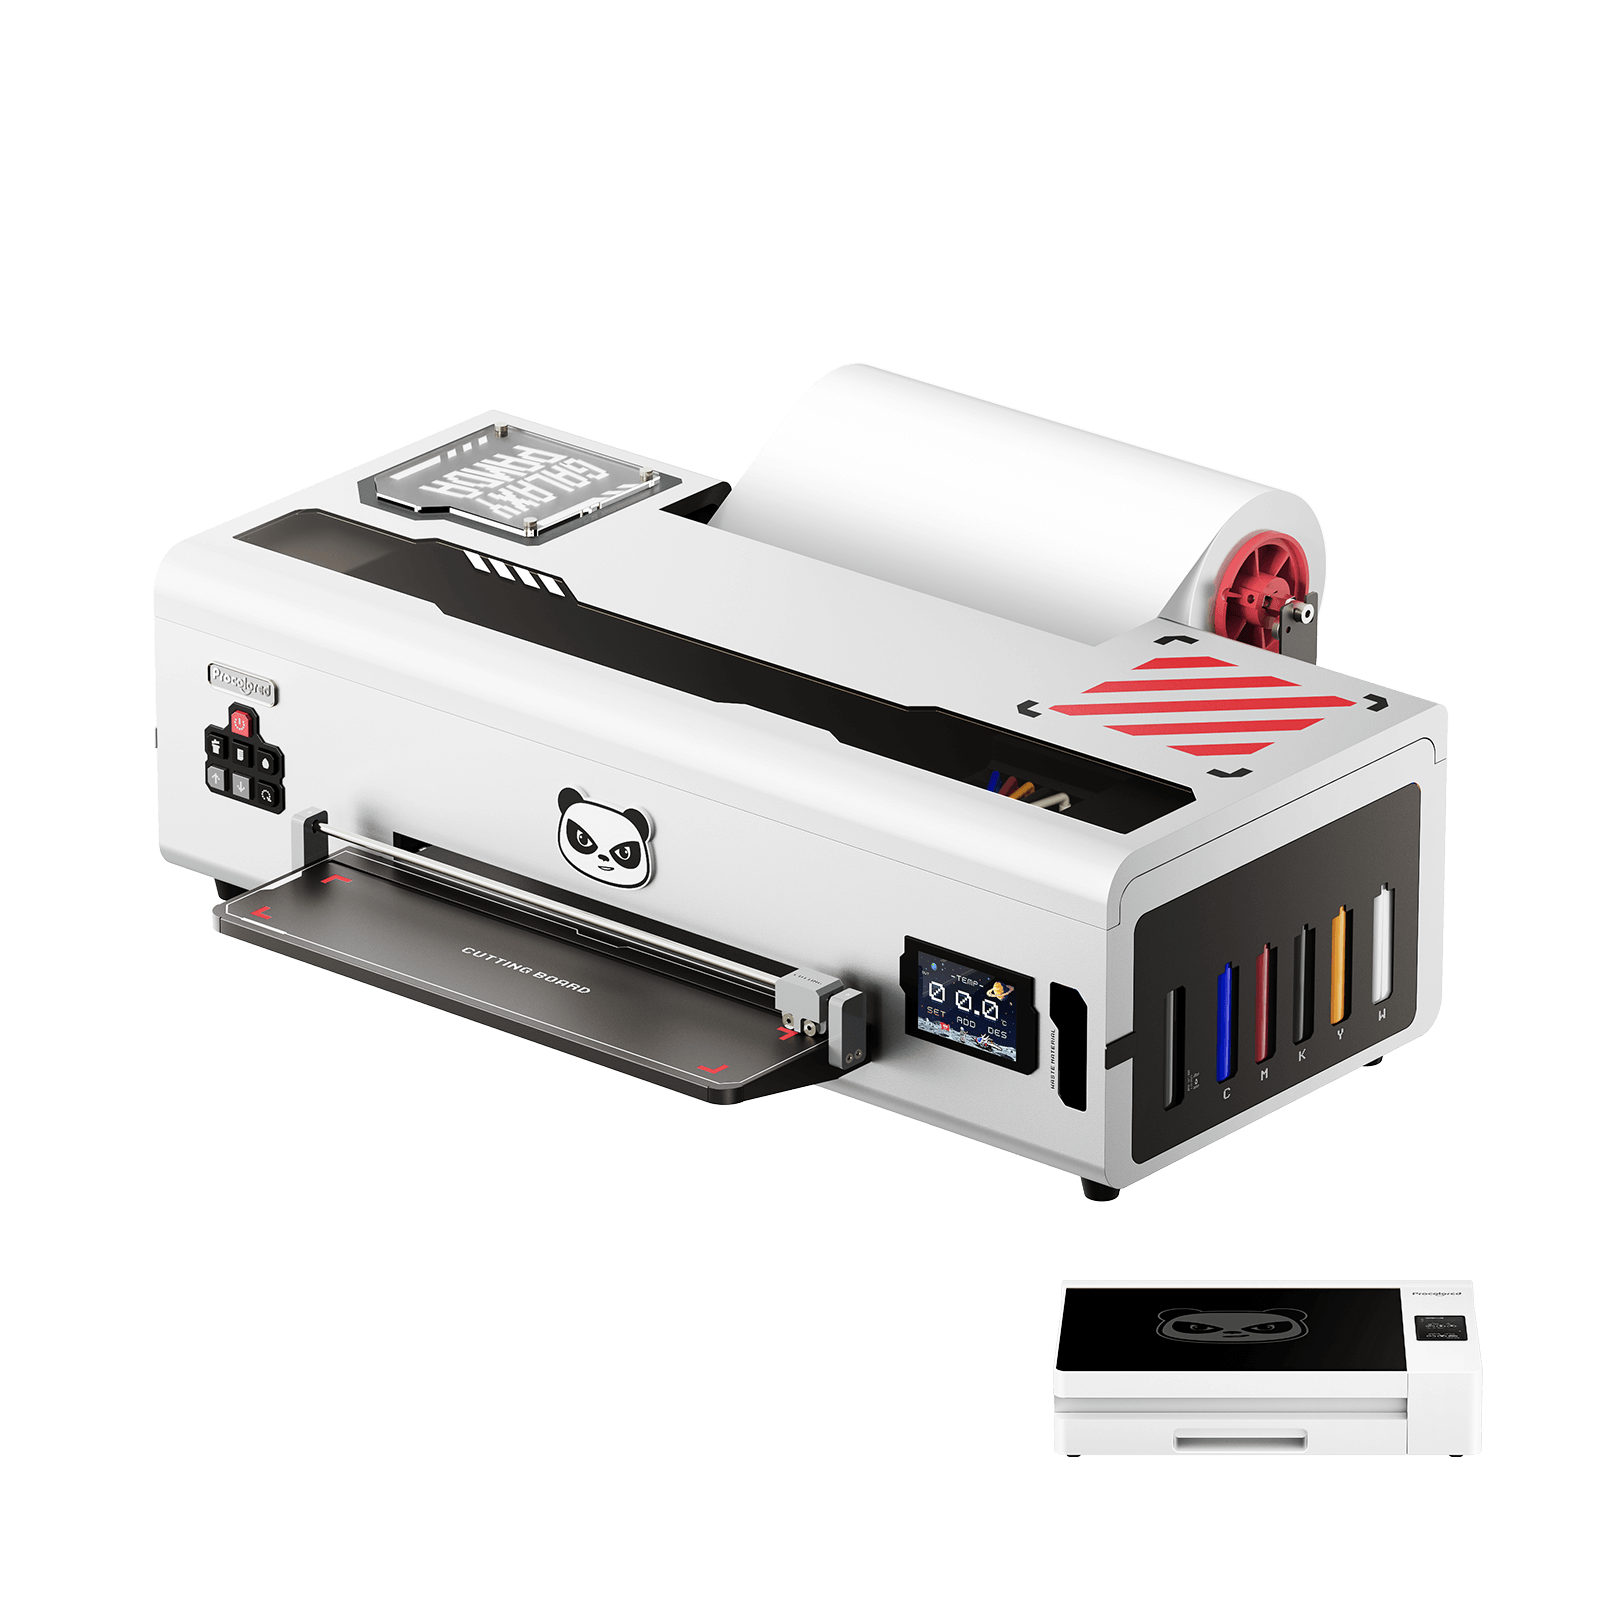
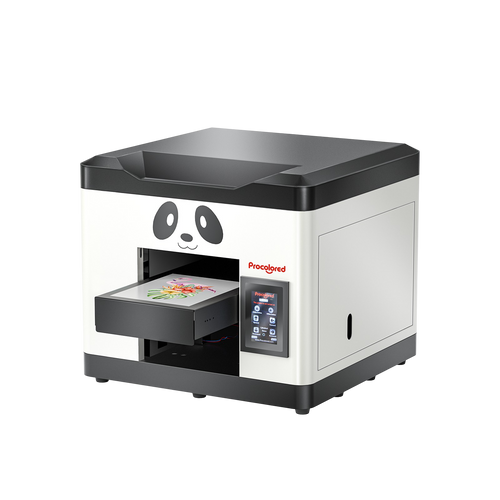
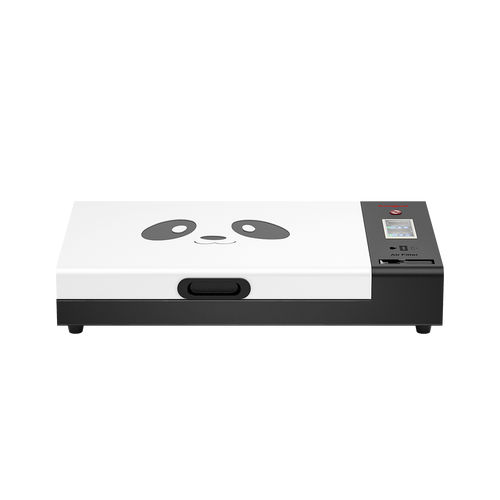
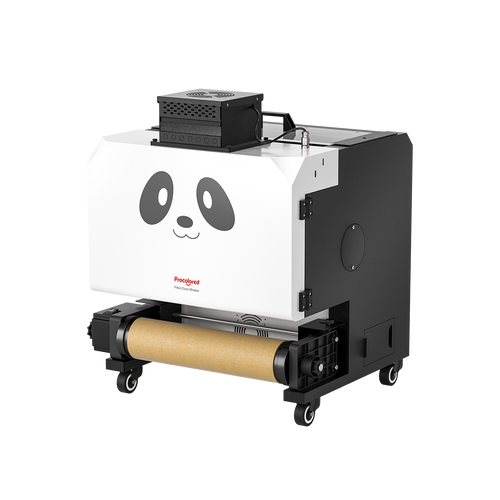
Each print path fits a different kind of product, so the right starting point depends on your booth model.

DTF — for apparel

This path for custom T-shirts, hoodies, personalized tote bags, and team shirts. DTF prints onto film, then heat-presses onto fabric. It works on cotton, poly, and blends, so you're not locked to one blank. 

Caps can work too, but they usually need the right hat press and curved blanks — treat them as a second step, not a day-one product. For a first booth, an entry-to-mid A3 desktop covers most weekend events; a faster production-grade machine only earns its place once events become a weekly habit.

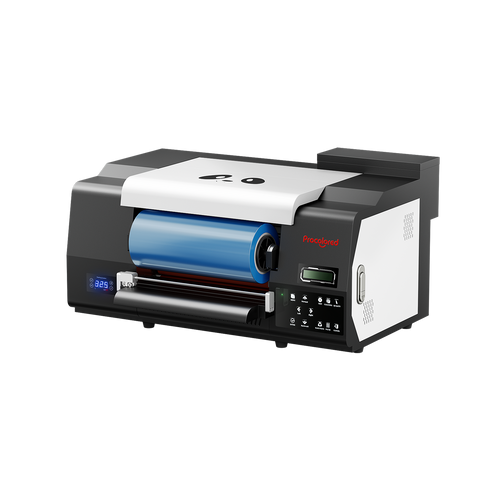
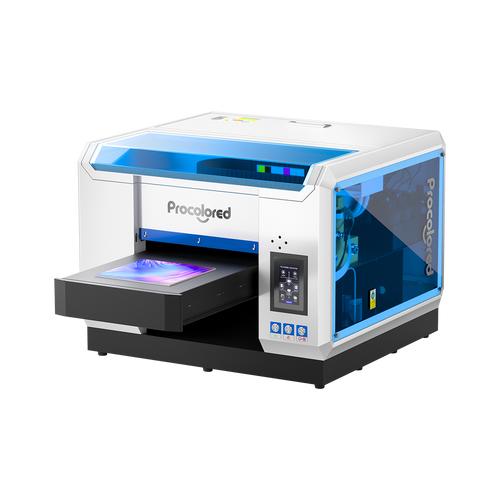
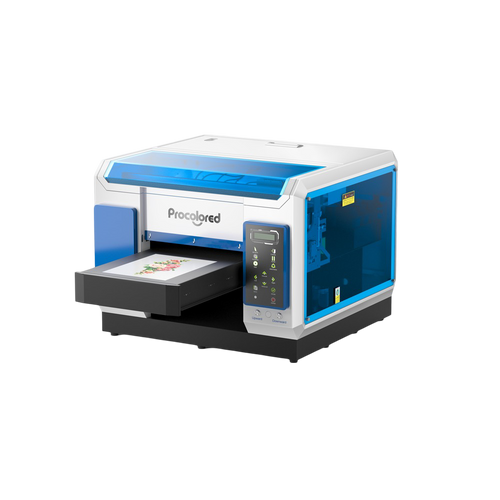
UV DTF — for cups, bottles, and hard surfaces

This is your path for tumblers, cup wraps, bottle decals, and logo stickers. UV DTF creates a cold-apply transfer that peels from the film and applies directly to hard surfaces — no heat press required. The VF13 Pro prints and laminates in one pass, which saves a real step when you're prepping a lot of wraps and decals.

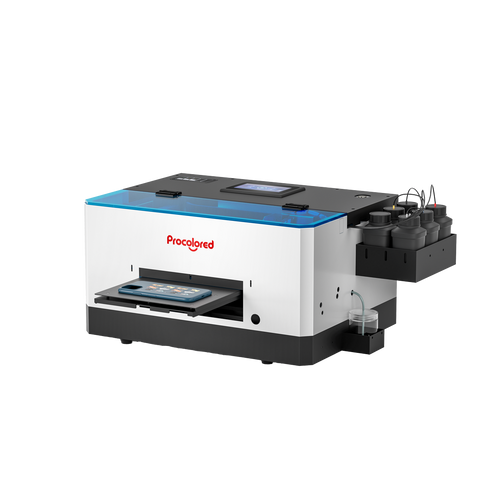
UV flatbed — for high-ticket samples and signage

This path for acrylic signs, plaques, phone cases, and business signage. It prints directly onto rigid material. These are your sample-to-order items — higher price, lower volume. A desktop A4 unit handles starter samples; for signage and bridal pieces, you’ll want A3 capacity with a varnish head for the premium finish.

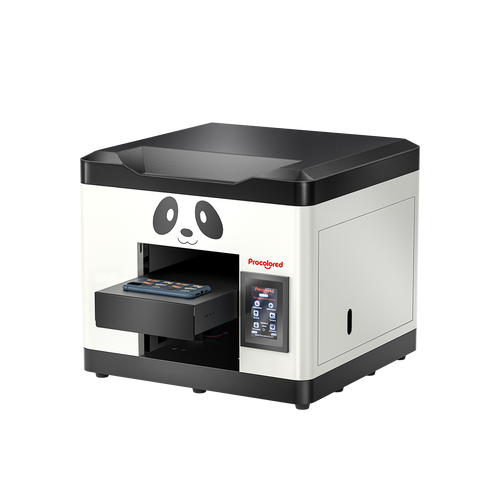
DTG — a supplement for cotton apparel

If you sell design-forward, cotton-heavy small-batch apparel, DTG prints water-based ink straight into the fabric. Treat it as a complement to DTF. 

The practical fit by goal:

Booth goal

Practical fit

Testing an apparel booth

K13 Lite / F13

A3 DTF, small-batch prep

Weekly apparel events

F13 / F13 Pro

higher repeat production

Drinkware and decals

VF13 Pro

UV DTF print + laminate in one workflow

Premium rigid samples

V6 / V11 Pro

acrylic, signage, plaques

Start with the one that matches your model, and add a second only when actual demand makes the case for it.

Design a booth menu 

A table full of random products only confuses people, while a clear menu actually sells. Build yours in three tiers.

Low-price draws : 

Decals, stickers, keychains, and cup wraps. These pull people in and get the first easy "yes."

Main sellers : 

Custom T-shirts, hoodies, tumblers, tote bags, and glass cups. This is where most of your revenue will come from.

Sample-to-order items :

 Team sets, bridal drinkware, acrylic signs, and business logo packages. These carry a higher price point and are made after the event.

What you’re aiming for is clarity: a shopper should be able to glance at your booth for ten seconds and immediately understand what you can customize for them.Below are three starter menus, one for each print path.

DTF booth

Plan on 12–20 ready-to-sell shirts as your core inventory, supplemented by 6–10 tote bags and a couple of hoodie samples to broaden the range. A team-order sign and a QR order form make it easy for customers to place bulk requests on the spot.

UV DTF booth

Lean into drinkware and personalization—cup wraps, bottle decals, and 6–8 finished tumblers or glass cups that demonstrate what's possible. Round things out with a handful of teacher and pet gift samples, plus a custom-name order form for walk-up requests.

UV booth

Use keychains and small acrylic plaques as your impulse-buy front line, then anchor the higher-ticket side of the table with one business-sign sample and either a wedding or graduation piece. Keep a custom order sheet within reach.

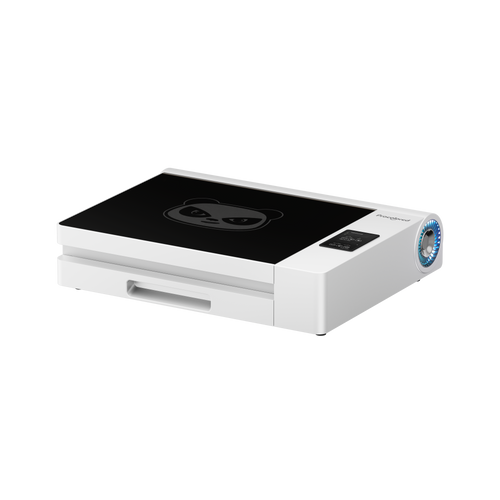
Production prep before the event

A good booth day is won the week before, not on the morning of.

Start with the event itself. Match your theme to the event type — school events, sports, holidays, pet, bridal, or small business. A farmers market, a community festival, and a holiday craft fair each call for a different table, so don’t bring identical stock to all of them.

Then prep by path:

DTF
build your gang sheets in advance, pre-press a portion of your finished stock, and have blanks ready for orders.

UV DTF

pre-make your cup wraps and decals, and bring finished samples people can hold.

UV flatbed

prep high-quality samples. Don't tie up cash in deep inventory of high-ticket pieces — show, then take orders.

Last, pull together the booth kit itself: order forms, a QR code, price signs, packaging, care cards, and a payment method that still works without strong signal. The product is only half of what makes a table work.

Booth display and on-site flow

A passer-by should answer five questions in ten seconds:
1.What do you sell?
2.Can you customize it?
3.How much?
4.How fast can I get it?
5.How do I order?

Make those answers obvious through clear price signs, personalized samples placed up front, a few process photos that prove the work really is yours, a QR code, and a simple order form.

You don't have to bring the printer to the market. Hauling, powering, and babysitting a machine inside a tent is genuinely difficult. For most pop-up markets and vendor events, the practical workflow is to pre-print your transfers and decals at home, then bring a heat press to the booth and handle the final press, wrap, or application on-site.

The customer still gets to see something made right in front of them — the peel of a DTF transfer, the hiss of the heat press, a cup wrap going onto a tumbler, that final on-the-spot personalization step. These small moments are the show, and people will stop to watch the transformation happen.

The printer itself earns its place at home the night before, building the transfers and decals that you’ll apply on-site the next day.

Pricing and profit

The pricing mistake that quietly kills booth businesses is pricing off the blank cost alone.


Your real costs depend on your blanks, your supplier, your region, and the event you’re working, so the useful approach is to set up one calculation you can run once and then reuse for every product.

Start by listing every cost, then split them into two groups.

paid for each item you make:


1.Blank (shirt, tote, tumbler, acrylic, etc.)


2.Ink


3.Film


4.Powder or laminate
 

5.Waste and reprints


6.Packaging and care card

Per-event (fixed) costs:


1.Booth fee


2.Card processing and misc fees


3.Travel and delivery


4.A share of machine maintenance

Now run three quick steps:


1.Variable cost per unit = add up all the per-unit lines for one product.


2.Gross margin before labor = your sell price − variable cost per unit. 


3.Break-even units = event fixed cost /gross margin before labor.

That last number tells you how many units it takes to cover the event itself; everything you sell beyond that point is margin you keep, minus your labor.

if a product gives you, say, $15 of margin before labor and the booth costs $75, you break even at 5 units. A higher margin or a lower fixed cost means you’ll break even sooner. Run this calculation before you book a booth, because some events simply won’t clear it and that’s worth knowing in advance.

Pay yourself by subtracting your time to get to true profit, and price custom work like custom work — a personalized item shouldn’t be priced like a plain blank.

Pre-make vs. take orders vs. customize on-site

This decision controls both your inventory risk and your speed at the table. A simple rule set:

Pre-make it 

when the product is low-risk, universal, and not size-sensitive. Stickers, decals, keychains, popular designs, one-size totes.

Take the order 

when it involves a name, logo, size, date, a high price, or a bulk run. Team sets, bridal drinkware, business logo packages, sized apparel.

Customize on-site

when the add-on is simple — a name, a number, a date, a small decal — and won't slow your line.

The goal is balance: carry enough to sell now, but don’t overstock items that might not move, and keep the on-site work fast enough that nobody gives up and walks away from a long line.

Turn your production process into content

Owning the printer pays off twice here: you run the machine, so you also own the process — and the process itself is content. 


Short videos showing how a custom product actually gets made will consistently outperform a static photo of the finished item, because what people really want to see is the transformation happening.

DTF: 

film the gang sheet, the powder, the cure, the press, and the peel.

UV DTF:

film a decal going onto a tumbler or a bottle.

UV flatbed:

film a design printing onto acrylic, wood, or a metal sign.

One Procolored ambassador built this into a real strategy. Instead of only posting finished shirts, he documents the full process and posts short before-and-after clips fast, then tags local businesses and customers. 


By his account, the content earns trust before anyone messages him, and it brings in DMs, local brand work, and repeat customers who found him through social. Among booth sellers, the ones who pull ahead are often the ones who turned the production process itself into their marketing.

Post-event follow-up and repeat business

When the market closes, the business doesn’t have to close with it. Follow-up is where one-time buyers turn into regular customers.


After every event, confirm the orders you took, send out a mockup, keep people updated on progress, deliver with care instructions included, and follow up with a thank-you note. 


Then, well before the next holiday, remind past buyers that it’s time to reorder event merch or team shirts.

Sellers who do follow-up well echo the same pattern: customers remember how you made them feel,not just what they bought. 


Remembering names, asking how people are, sending mockups, taking the extra few minutes to communicate — these small human habits are what turn a one-time market shopper into a regular customer.

Across the Procolored community, sellers from very different niches describe the same compounding effect: trust comes first, then repeat business and word-of-mouth referrals follow.

From first booth to a business that holds up

The setup we've walked through isn't complicated. You're working with a single printer on one print path, a booth model that matches it, a short menu of products you can actually deliver on time, prices you calculated from your own costs, and a follow-up habit that treats customers as people instead of transactions.

That's what separates a table you bring out a few weekends from something that holds up over time. Pick one print path, commit to one kind of event, and use your first few markets to tighten the system before you scale anything. The growth usually comes from the customers who come back and the ones they send your way — not from trying to do more at once.